

*Note: Prior to doing any repair, inspection or maintenance work under the trailer make sure you park the trailer on solid, level ground such as a concrete or paved surface. Place the vehicle in park, set the emergency brake and use wheel chocks to prevent the vehicle from moving.
First week of operation
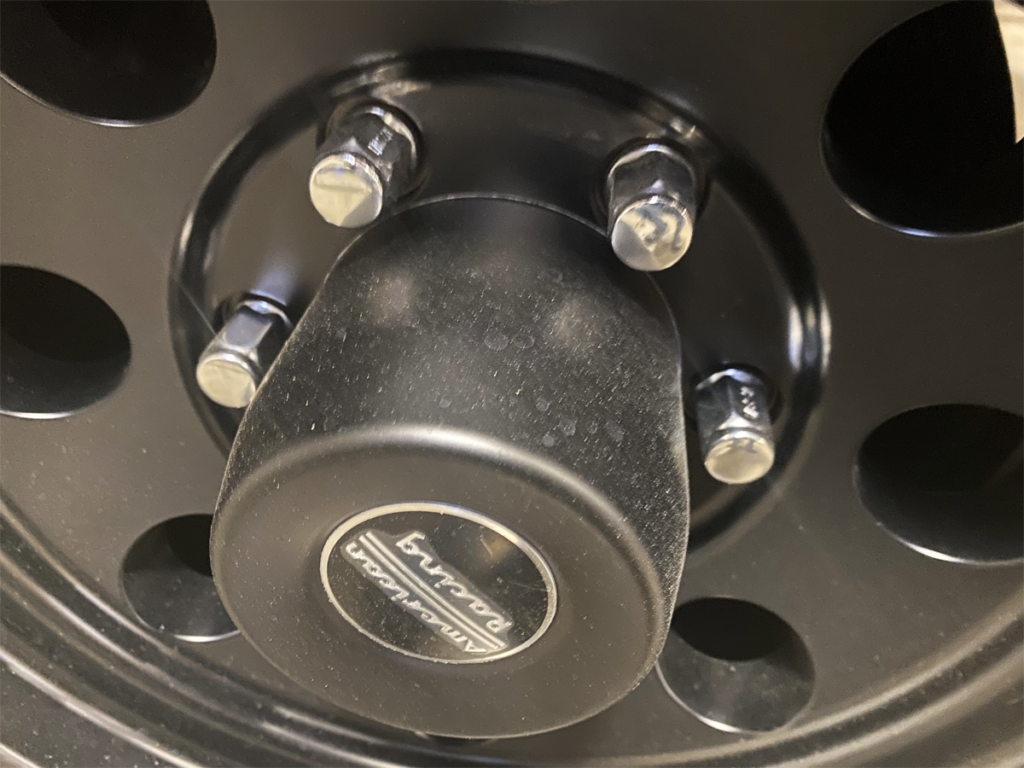
Lift the trailer with the rear jacks, turn the wheels individually by hand and make sure they are running smoothly and there is no slack in the wheels when moved side to side. Tighten the hub nut to take the slack out and re-check.
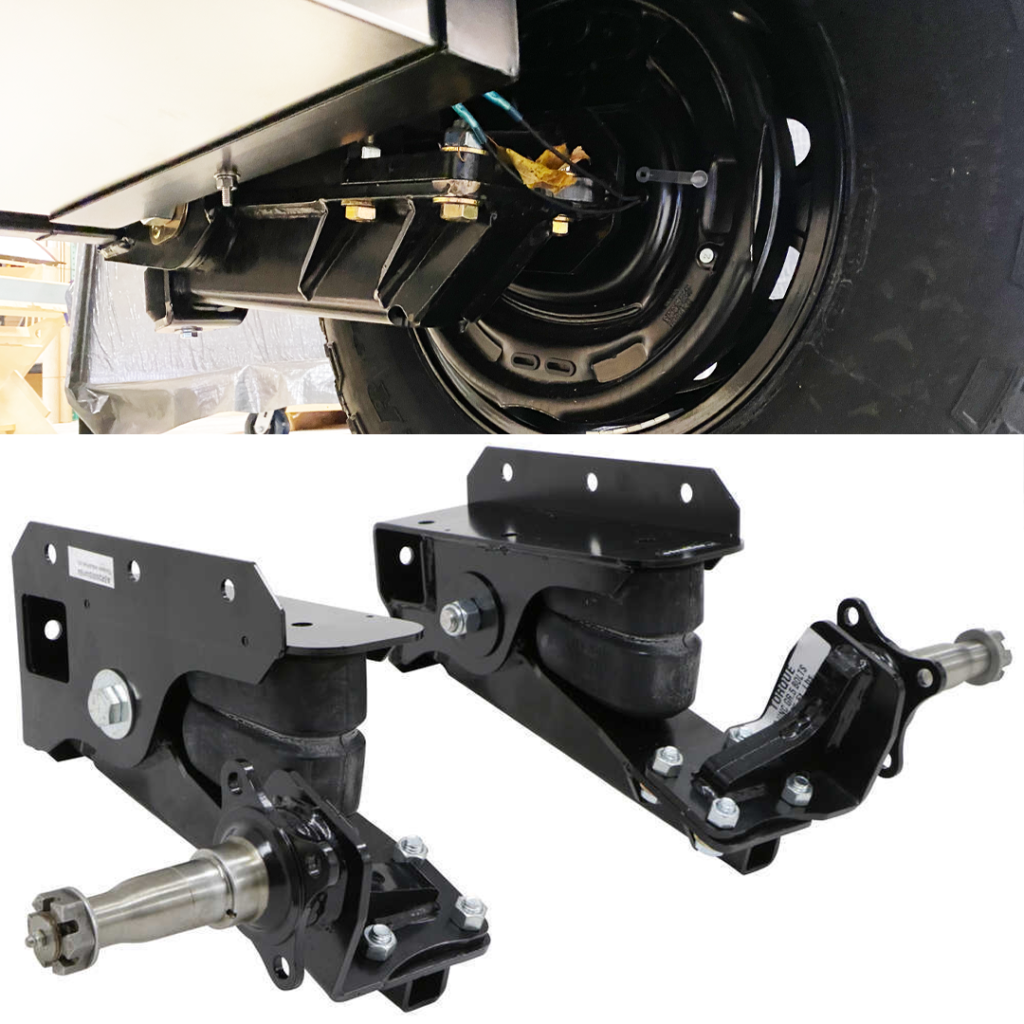
Suspension system
Refer to the Timbren axle-less suspension manual for required retorque of all Timbren components. Do this after your first trip and annually. Retorque lug nuts to 95 ft pounds.
You’ll want to initially regrease your bearings at 3,500 miles. Inspect the bearings, replace if necessary, pack hub with grease, and do this once a year or every 12,000 miles. Watch the video for a full walkthrough of how to service the bearings on your trailer. We use either green or red lithium grease in the axle bearings and Timbren also uses lithium grease for their bushings.
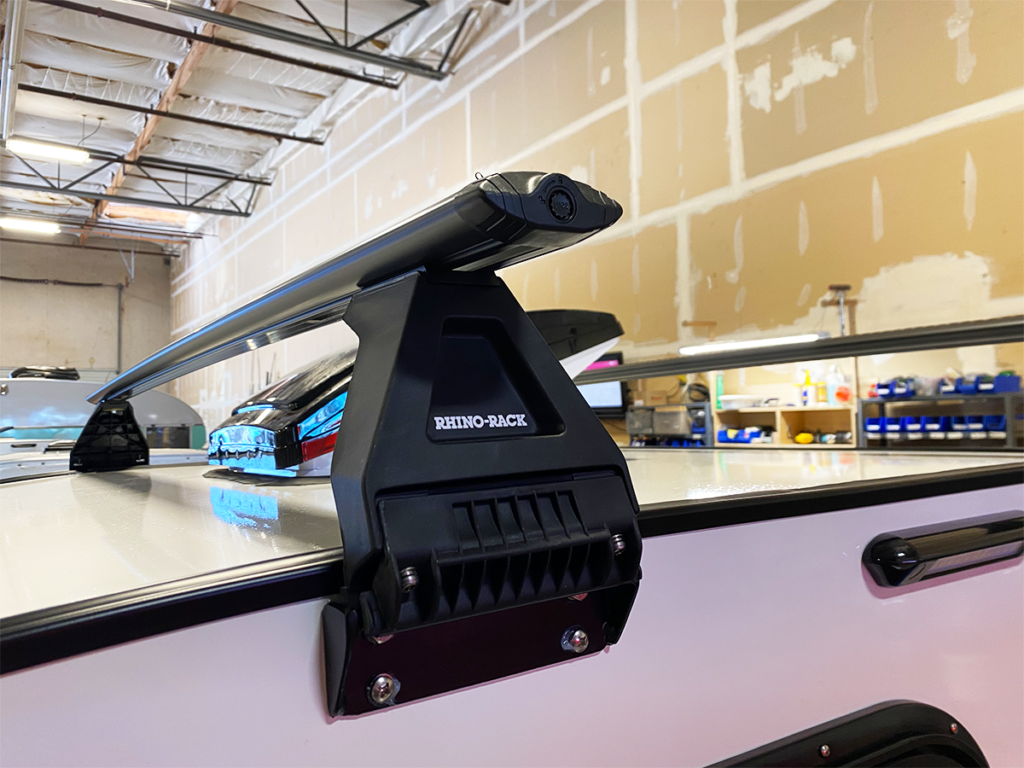
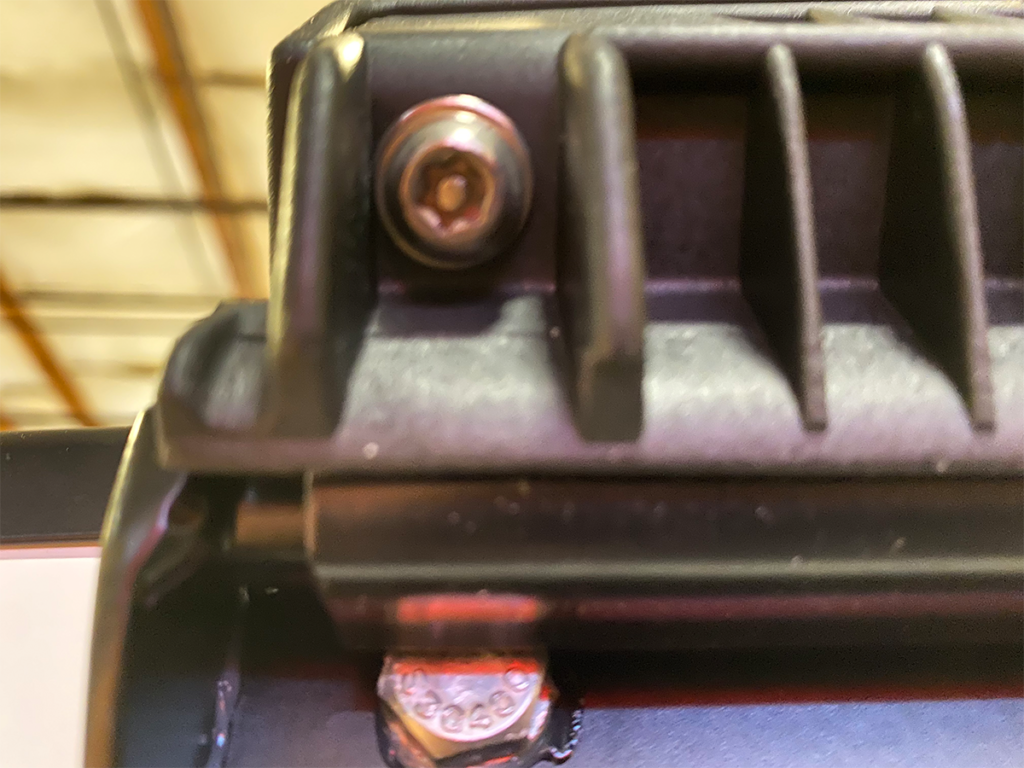
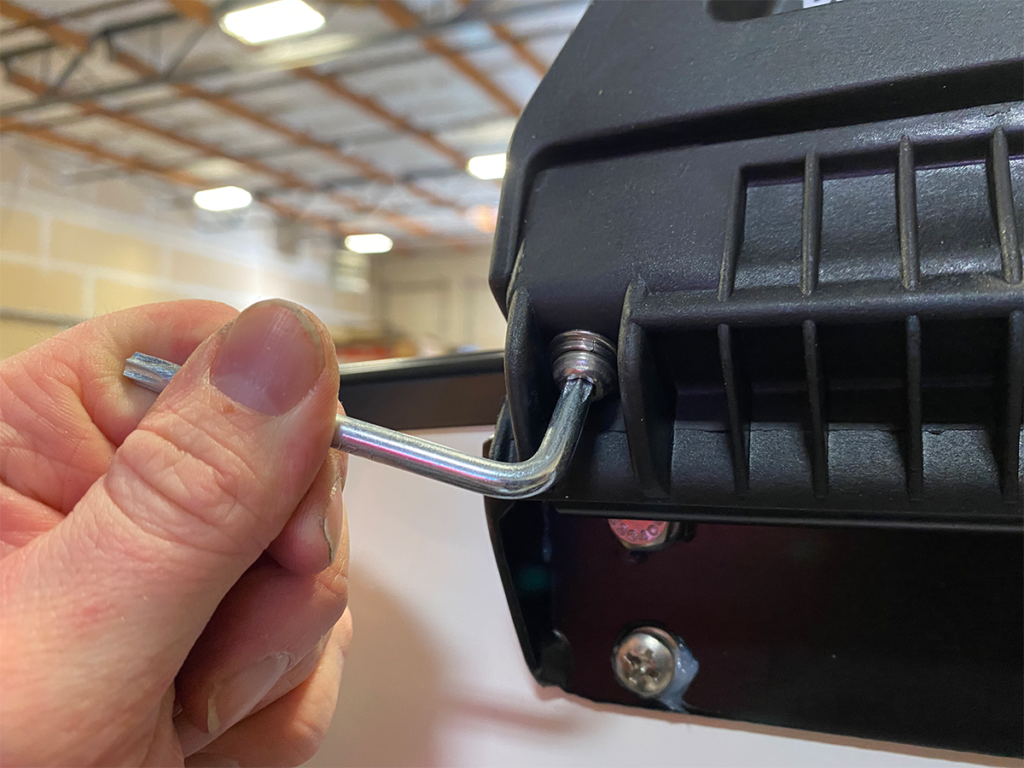
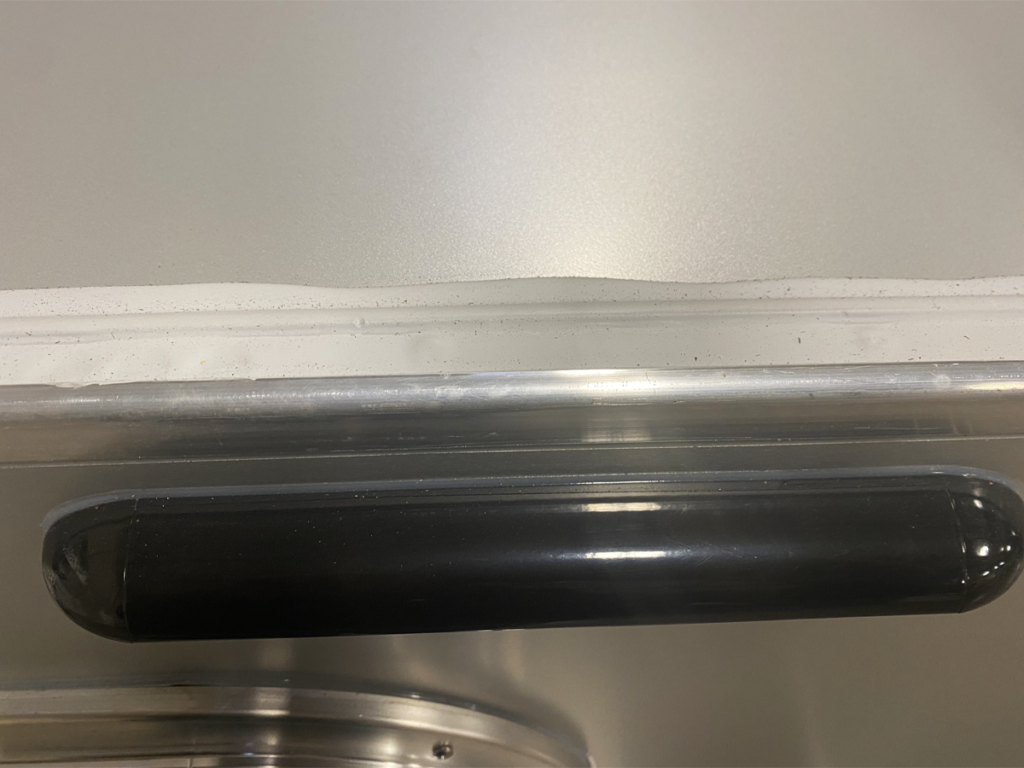
Tighten roof rack leg clamp screws where the roof rack meets the side-mounted bracket. Check and tighten these often. These will have a star pattern to them which you can tighten with a wrench we provide. Don’t tighten the lug screws that attach the bracket to the side of the trailer!!! This will affect the waterproof seal! Check before every trip.
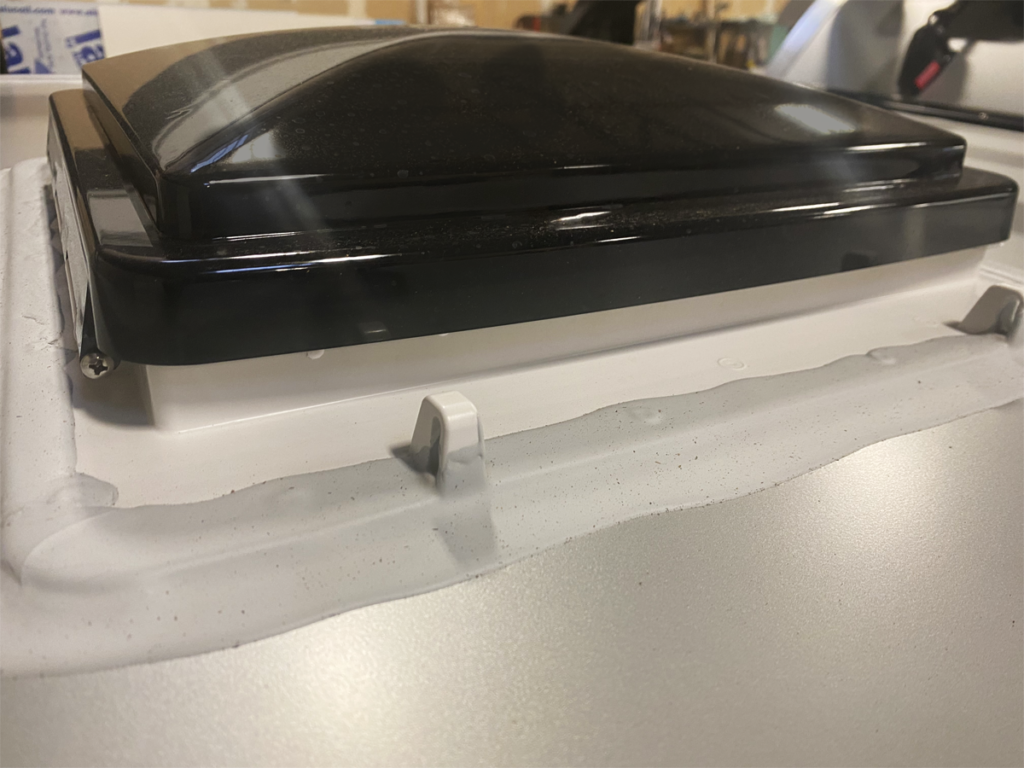
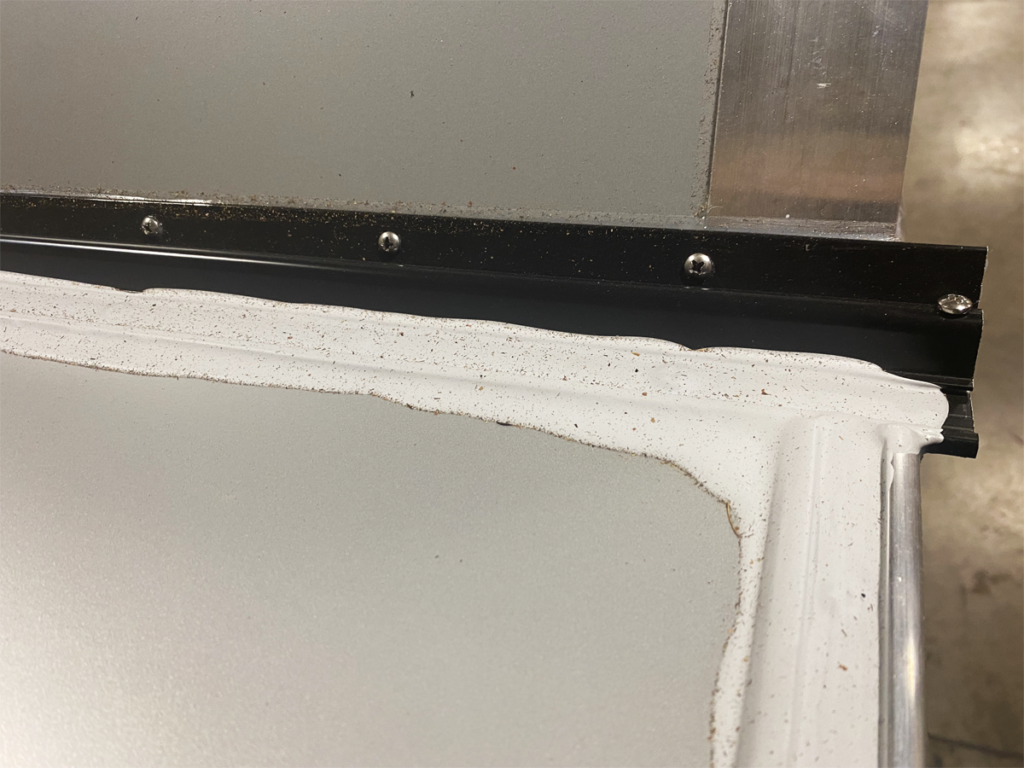
Inspect lap sealant and silicone seals around the entire trailer. Re-seal trailer if silicone or lap sealant is separating, peeling off, cracking, or is no longer creating a watertight seal. Check the seals annually.
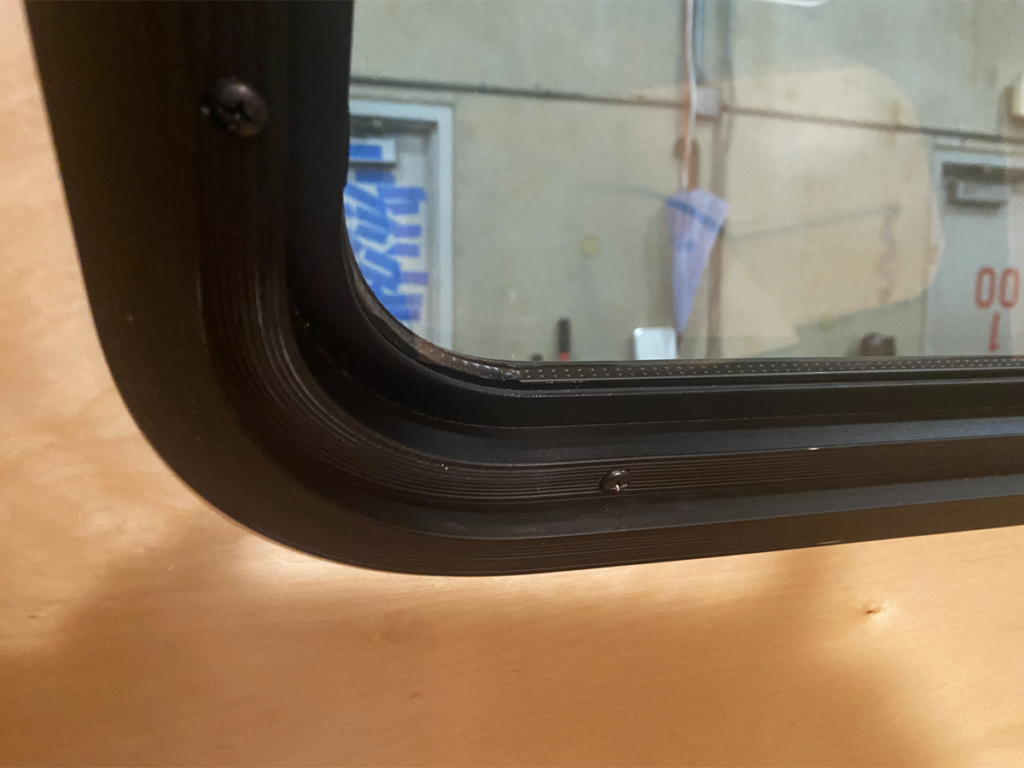
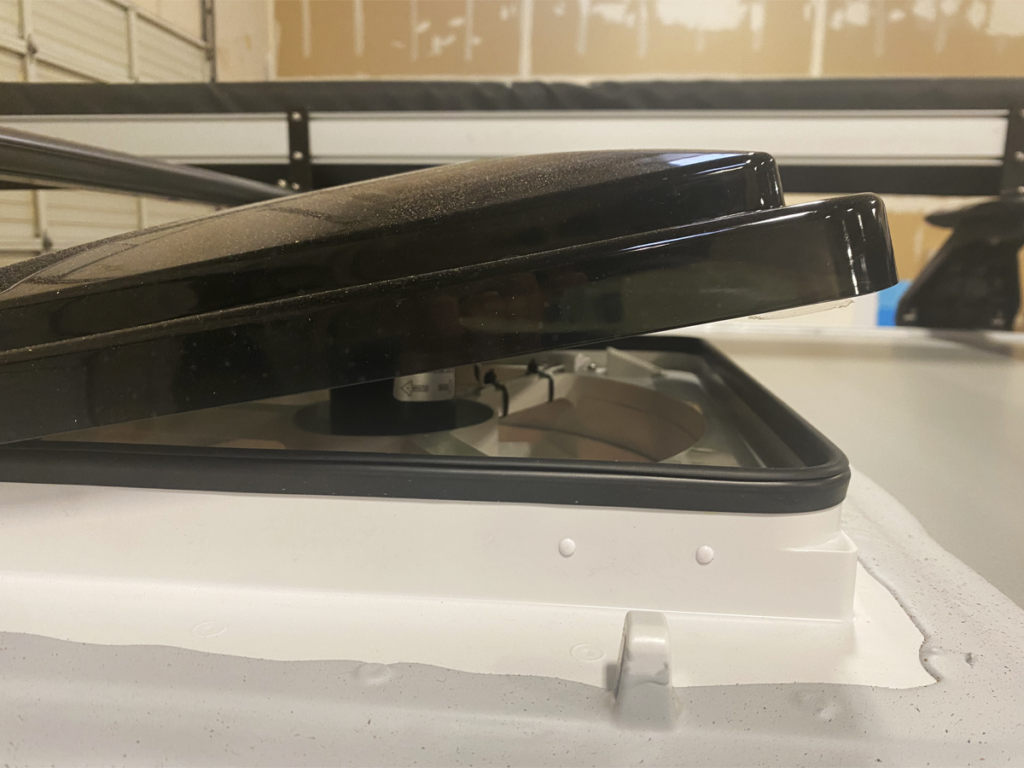
Inspect all the gaskets on your trailer. This includes but is not limited to, hatch gaskets, door gaskets, stargazer window gaskets, etc. If the hatch gasket has compressed and doesn’t have a tight seal, try tightening the adjustable hatch latches first to see if this corrects the problem. Replace gaskets if necessary. Check every 6 months.
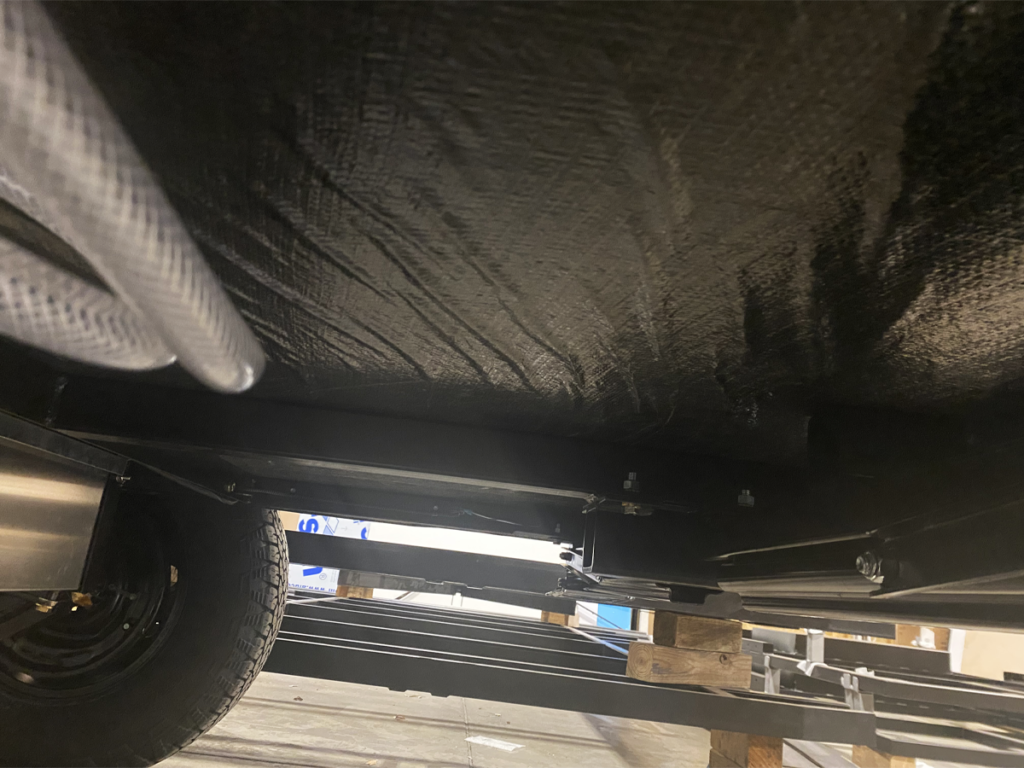
Inspect underneath the trailer for damage to the vapor barrier. (Very rare but always a good idea to check especially if you’ve been doing lots of off-roading). Check annually.
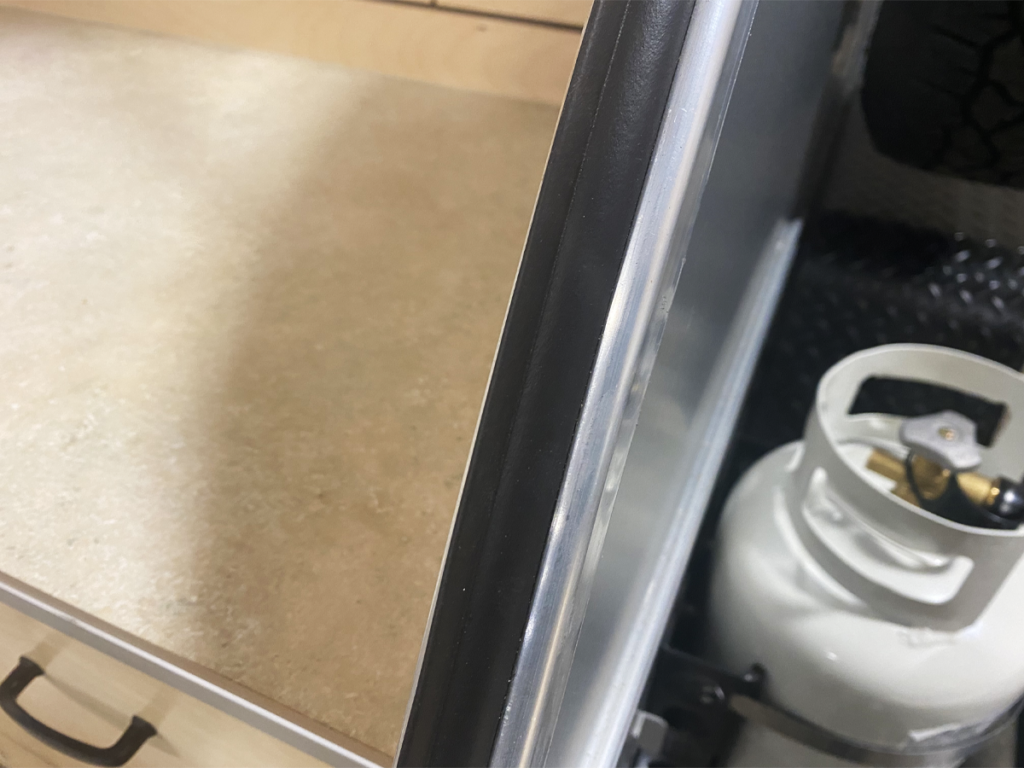
Inspect either end of the hatch hinge to make sure that silicone and lap sealant is intact and without voids. Reseal if necessary. Also check the fasteners on the hinge to make sure they are tight. Check annually.
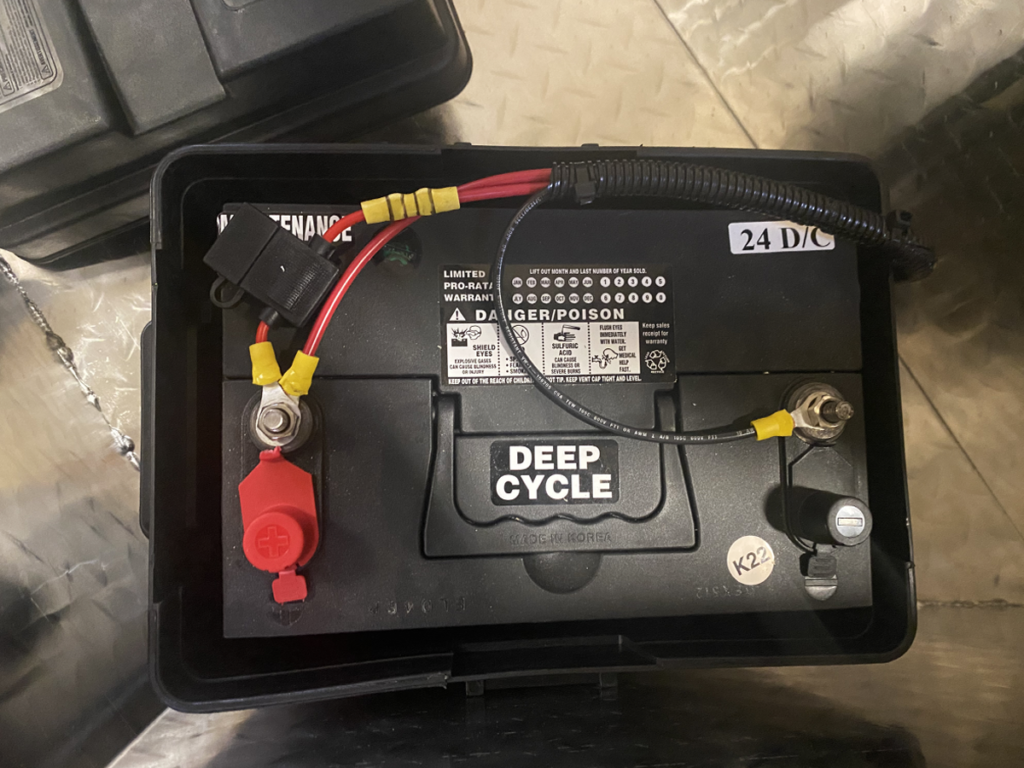
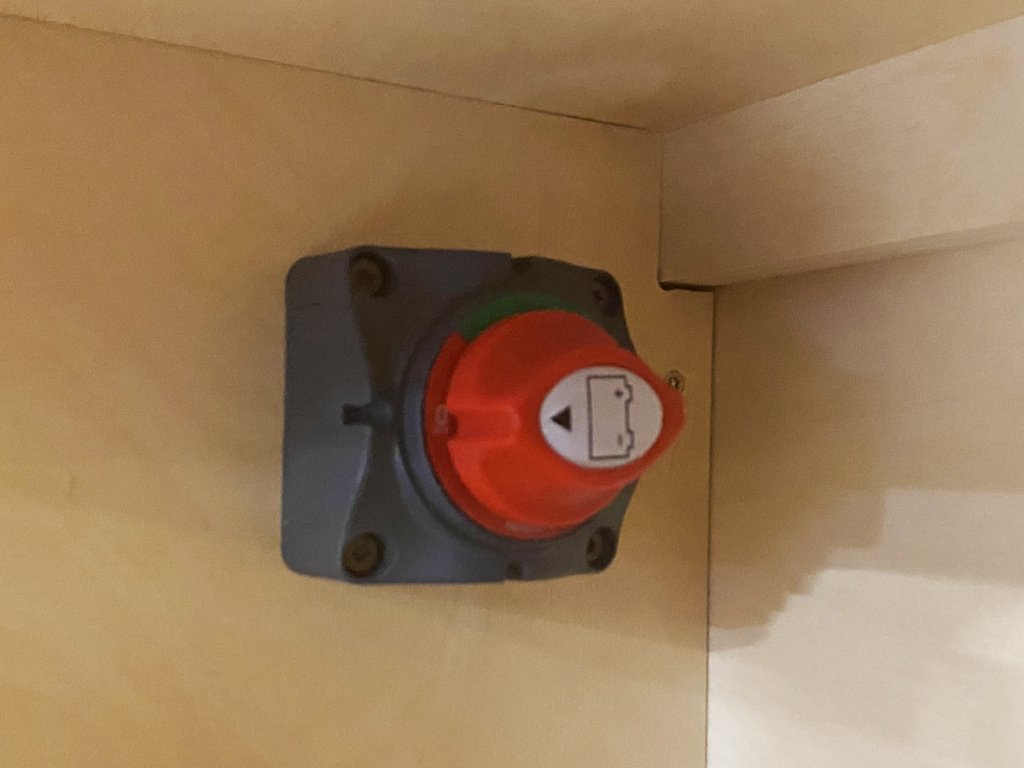
Check to make sure your battery’s health is in good standing. Make sure that during the off-season, or between trips, you charge your battery until it’s full, then hit the battery shutoff switch. Before heading out on your next trip, turn the battery shutoff switch back to the on position, and charge your battery up again. If your battery has corrosion on the terminals, clean them for good contact. We recommend keeping your battery above the 50% mark because if you let it completely die, then charge it back up repeatedly, this will boil all the water off and overheat the battery. Check before every trip.
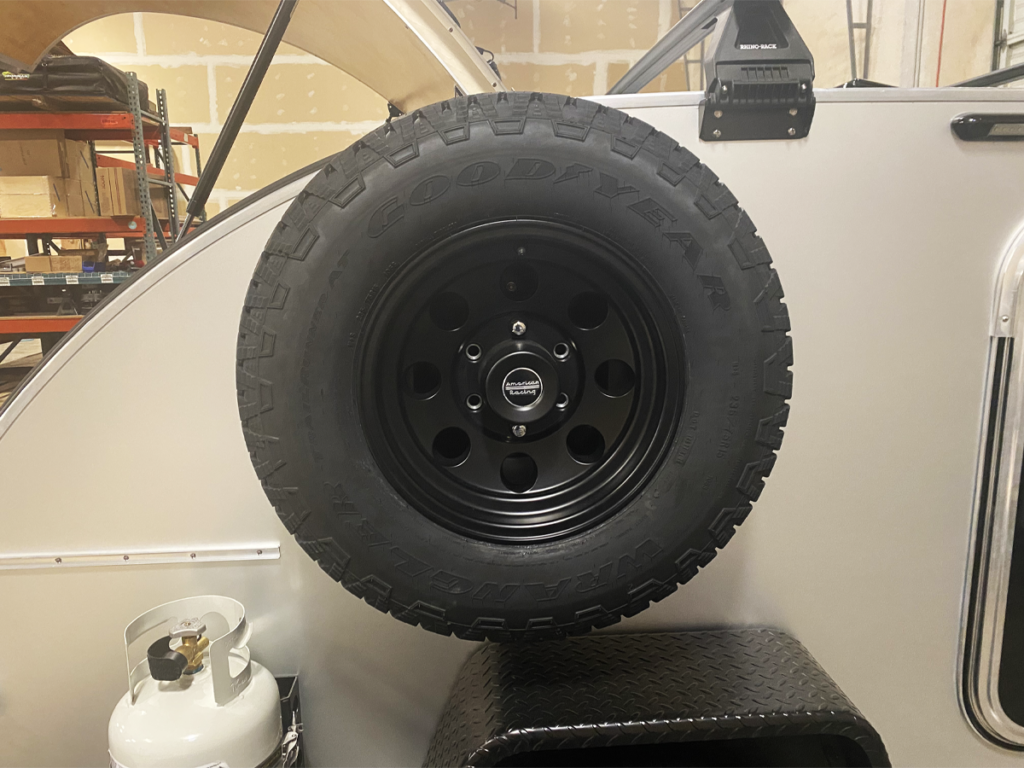
Inspect lug nuts on wheels (also the spare tire if you have one). Tighten if necessary. Tighten lug nuts to 95 ft pounds in a star pattern.
Check the air pressure in each tire (spare included). Inspect tires for damage and replace/repair if necessary. Do this before every trip.
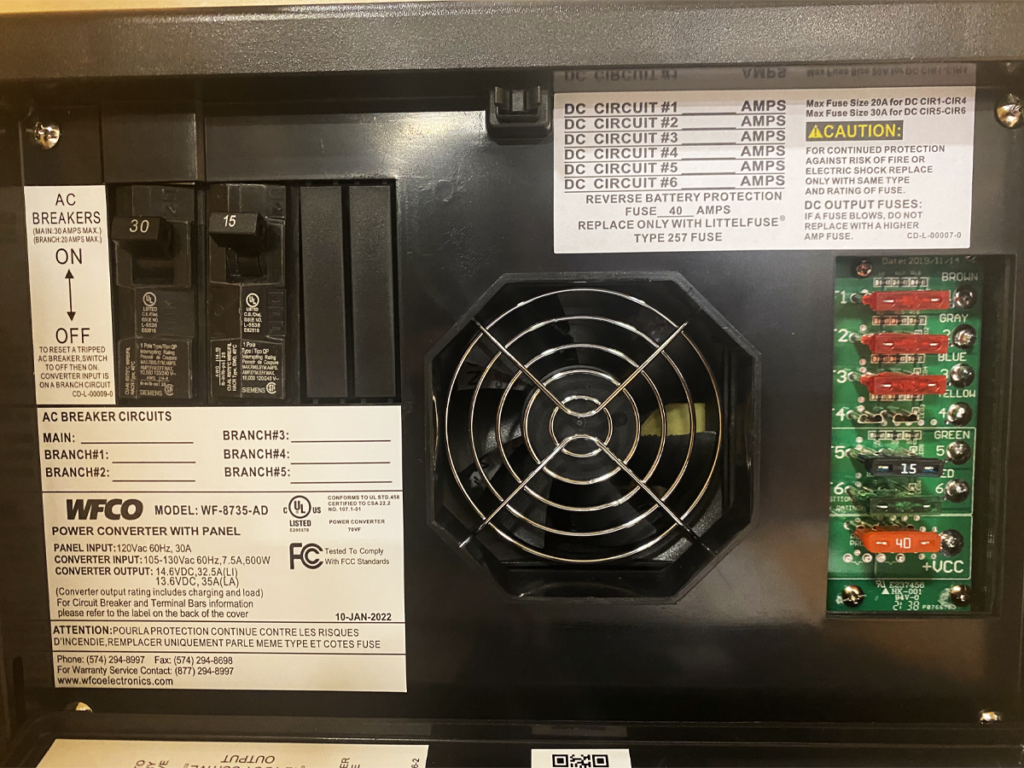
When looking at the fuses going from top to bottom, here’s what they go to:
F1: Light switches, Water Pump, anything with a switch – 10 amp fuse
F2: Fan and reading lights (Bluetooth stereo and Fresair evaporative cooler if applicable) – 10 amp fuse
F3: USB and 12v Plugs – 10 amp fuse
F4: Generally left blank, is sometimes used for Bluetooth stereo depending on year – 10 amp fuse
F5: Refrigerated cooler – 15 amp fuse
F6: For the power center – 30 amp fuse
Last fuse on the bottom is also for the power center – 40 amp fuse
Check annually.
F1: Light switches, water pump, all switched components – 10 amp fuse
F2: Fan and reading lights (Bluetooth stereo and Fresair evaporative cooler if applicable) – 10 amp fuse
F3: USB And 12V plugs – 10 amp fuse
F4: Propex furnace – 5 amp fuse
F5: Refrigerated cooler – 15 amp fuse
F6: For the power center – 30 amp fuse
Last fuse on the bottom is also for the power center, battery reverse fuse – 40 amp fuse
Check annually.
When sleeping in the trailer, keep the vent fan cracked and/or the side windows cracked. If you keep everything sealed up while inside, you could experience a Co2 buildup which can be dangerous.